Showing posts with label furniture recipes. Show all posts

Tuesday, April 6, 2010

projects


this is one of my favorite projects..
.a simple old door, painted blue, a little roof and legs..
.then we pounded a nail in and hung a mirror....
IT WOULD BE SO NICE IN A LITTTLE COTTAGE...


this is probably our most popular design... ...our porchpost cupboards.... made with 100 yr old porchposts.... we have sold lots of them!!! thankfully...lots are in other stores for display....they are big and useful....and a great focal point in lots of houses....


we do lots of counters or whatever!!! maybe this one will be a bar... or maybe a mission style island
this one is made with an old door and newel posts on the ends...very manly!!!
.


we always have lots of decorative tin for sale...old and new....the new comes in 2 ft squares...the old is from old ceilings.... i love using it in projects....especially our counter/bar/island/cashwraps/tvstands.... whatever you call these big guys...they look pretty cool with tin for fronts...sometimes we put the tin in to doors ...this one has old tin in the front and an open back...the new tin is a lot easier to work with than the old....but the old has more depth and contrast....


we get these matching bookcases quite often.
.circa 1910......they start in the depths of Chicago, from old houses being demolished...they were on both sides of a colonnade, the dividing part between 2 rooms....they might have had columns on top reaching up to the ceiling...they are usually pretty rough when we get them...since they were built ins usually a side is gone...
so they start in Chicago, we get the from a picker who goes up there and then they go to our Amish carpenters for total rehabbing and come back to us like this...they were built ins so usually a side has to be replaced...
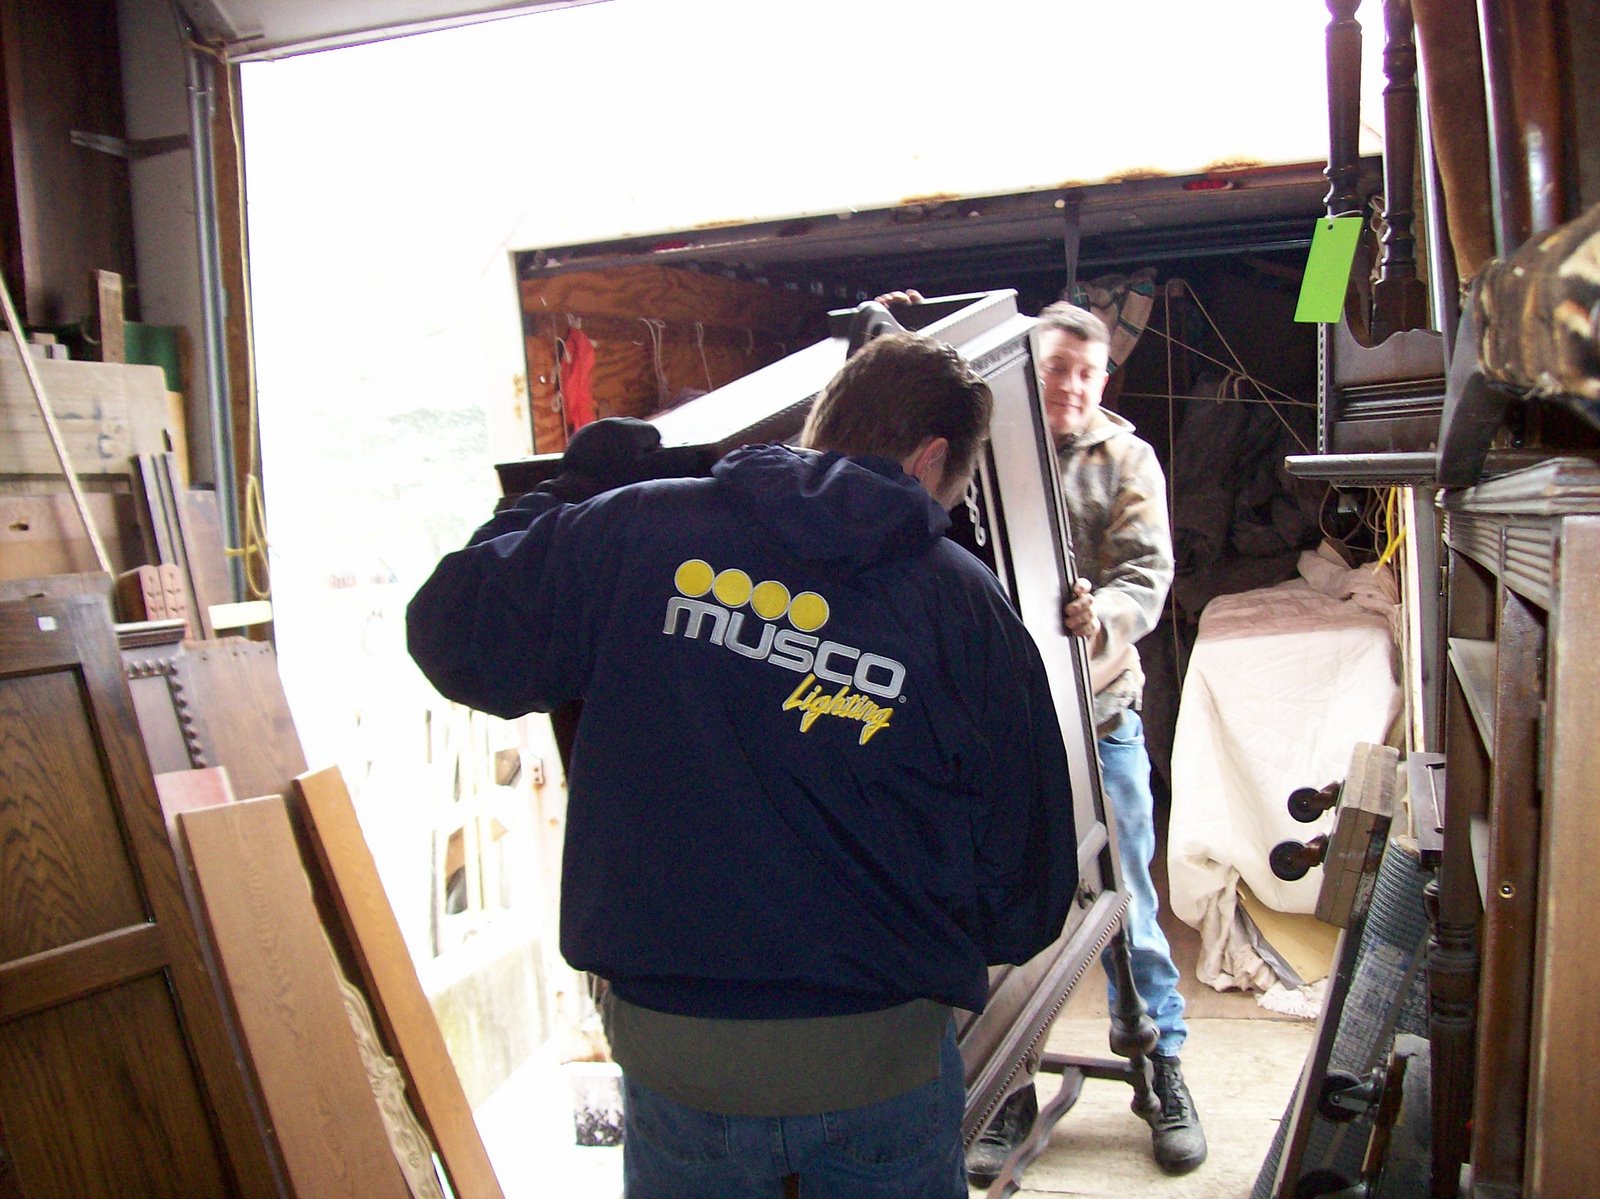
i think its pretty cool...they have been on the dan ryan, thats a Chicago huge multi lane road, and in a place that still goes by horse and buggy and no electricity..... ...Jon has to pickup and deliver....the Amish do have power tools...but not electric....??? gas i think...


weve done this one a couple of times.... its a buffet and an old headboard....
both parts are from depression era furniture..


finding old headboards is pretty easy....since hardly anyone wants a 3/4 size or even a full size bed anymore..the bottom was an old buffet ...i love the queen anne legs....


we always have lotsof old furniture needing a litttle tlc....just look in our rough room and for old porchposts and doors look out under the awning....
i like what thomas edison said..
TO INVENT YOU JUST NEED IMAGINATION AND APILE OF JUNK....

Sunday, June 15, 2008

furniture recipes..dressers


this is one of the easiest pieces to get...its part of a bedroom suite, this style is a dark wood, heavy veneer, probably from the 30s....very common ....
i dont feel bad painting these...they are more like used furniture than real antiques...around here in the rough, they are way under 100$..ck our rough room..
....the trouble is usuallly the drawers..... thats the first thing we check.....if they stick, it could be really hard to fix..sometimes its just better find a better dresser...
we use them with the mirror and without..
..if the legs are bad we cut them off...making a nice low chest..
we have taken the bottom 2 drawers out , leaving the legs, which makes a nice cavity, or ripped out the back too and made a neat vanity...
when we do white, we usually put the old fashioned glass knobs on...
if we had more time we could line the drawers with old wallpaper.....
sometimes we add carving on the front of the drawers....
then we judge the finish to see if the paint will stick....maybe we have to sand maybe just sanding sealer,,,usually these are just a brown wood....if its red mahogany then we cant paint white...it bleeds thru....,,,,,,,,
then we paint ...
white and drybrush another shade of white on top and seal and walla!!!! a pretty , useable piece....
these dressers run from
$170 to $230....

Tuesday, June 10, 2008

furniture recipes..drybrushing


a lot of the stuff w e paint has surface problems.... we solve that by filling the depressions...like where veneer is missing on dressers......with woodfiller mostly, then sanding......but it will often show under a coat of paint..
..thats where dry brushing saves the day..


..we pick a closely related color to the base coat...and just drybrush it over the original color......walla....lots of problems covered, and a nice casual look....drybrush means take most of the paint off the brush then brush it over the surface....leaving lots of your first color showing...

to get a close color i like to add brown or white to the base color...then its perfectly related....i would not like a big contrast..
this piece, one of our greenhouse showcases....started out tile red...then we threw some brown paint in to the red for the drybrush coat...

Sunday, June 8, 2008

furniture recipes


im new at blogging....but heres my plan.....this week im going to have furniture recipes....how we work on furniture ....how we rehab....how we decide


to me the ideal piece to pick is like this one...its easy to find, usually reasonable in price , not a good antique...

can you see it? its a depression era china cabinet without the big front door......this one had a bad door,so walla...its an open china cabinet....the furniture between the 1920s and the 50s is great ...there is a lot of it, its dark and unpopular so its easy to get.like in our rough room..and its still made out of real wood or heavy veneer....and it can be cheap....

first thing we do is

clean it up,

tightnen it up...jon does any repairs it needs...

then prepare the surface for paint..

.if its shiney we have to do something or the paint wont stick...or it will come off with the slightest bump..... so we have to decide what to do....the best thing is to sand the whole thing.then there is no problem.....but if the finish is already partly gone we also use liquid sander...which seems to work great.....and lots esier than sanding..

then we embellish!!! meaning wood appliques or in this china cabinet, nice iron corners ....

after that its time to paint..... if the piece was mahogany , or worse fake , dyed mahogany you have to deal with that....the red stain comes thru the white paint....so in that situation we go for painting it black....

then we add another dry brush coat of paint,,,then a coat of finish....

more later....